TL;DR:
- Correct and timely upload of export documents prevents delays in international shipments.
- Incorrect documents or formats cause errors that can hold up customs clearance.
- Structure and automation help minimize errors and speed up processing.
Uploading one incorrect file can delay your international shipment for days. For e-commerce businesses that regularly send packages to foreign customers, this is not theory but a reality that costs time and money. Export documents such as invoices, a Certificate of Origin, or an EUR.1 form must not only be present—they must also be filled out correctly and submitted properly. In this article, you’ll walk through step-by-step how to upload documents for shipping, which mistakes to avoid, and how to verify everything is correct before your package is on its way.
Key Insights
Point | Details |
|---|---|
Preparation is Everything | Ensure the right documents are ready digitally before you start uploading. |
Follow a Step-by-Step Plan | A standardized upload procedure prevents errors and shipping delays. |
Instant Digital Confirmation | After uploading, you typically receive immediate confirmation that everything is correct. |
Use Smart Tools | Automation and checklists save time and prevent common errors. |
What Do You Need to Upload Shipping Documents?
Before uploading a single file, it’s smart to know exactly which documents you need. This sounds logical, but in practice, mistakes often happen here. Many e-commerce businesses assume an invoice is sufficient, while customs authorities in the destination country may require additional documents.
The most commonly required export documents are:
- Commercial Invoice: Mandatory for nearly every international shipment. Contains details about the goods, value, and parties involved.
- Certificate of Origin (CO): Proves the country where goods were produced. Crucial for tariff benefits or import duties.
- EUR.1 Form: A preferential proof of origin for trade with countries that have a trade agreement with the EU.
- Packing List: Provides a detailed overview of the contents of your shipment.
- Export License: Required for specific goods such as certain technologies or chemicals.
Via the request-export-documents page of the Dutch Chamber of Commerce (KVK), you can request a CO digitally, either through an online portal or via a freight forwarder. An EUR.1 can be requested from Customs. This reduces paperwork and significantly speeds up the process.
Document | When Required | How to Request |
|---|---|---|
Commercial Invoice | Always | Create yourself |
CO | Upon request by the destination country | Via KVK or freight forwarder |
EUR.1 | Trade with EU partner countries | Via KVK or freight forwarder |
Packing List | For multiple products | Create yourself |
Export License | Regulated goods | Via RVO |
For upload options, you have three routes: directly via an online portal (such as from the KVK or a government agency), through your freight forwarder’s portal, or via specialized logistics software. The choice depends on the volume of your shipments and how automated you want the process to be. Learn more about the full procedure for submitting documentation for international shipments.
Pro tip: Always check the specific document requirements of the destination country before you start. What applies to Germany may not work for Canada or Japan. The importance of shipping documents is often underestimated, but correct documentation prevents many errors.
The most common mistake in document selection is confusing a CO with an EUR.1. Both prove the origin of goods, but they apply to different trade routes and have different legal statuses. Using the wrong form can result in customs holding up your shipment.
Step-by-Step: How to Upload Documents for Shipping
With the right documents in hand, you’re ready to start the upload process. Below, you’ll find a practical step-by-step guide to follow, whether you’re working through a freight forwarder or your own portal.
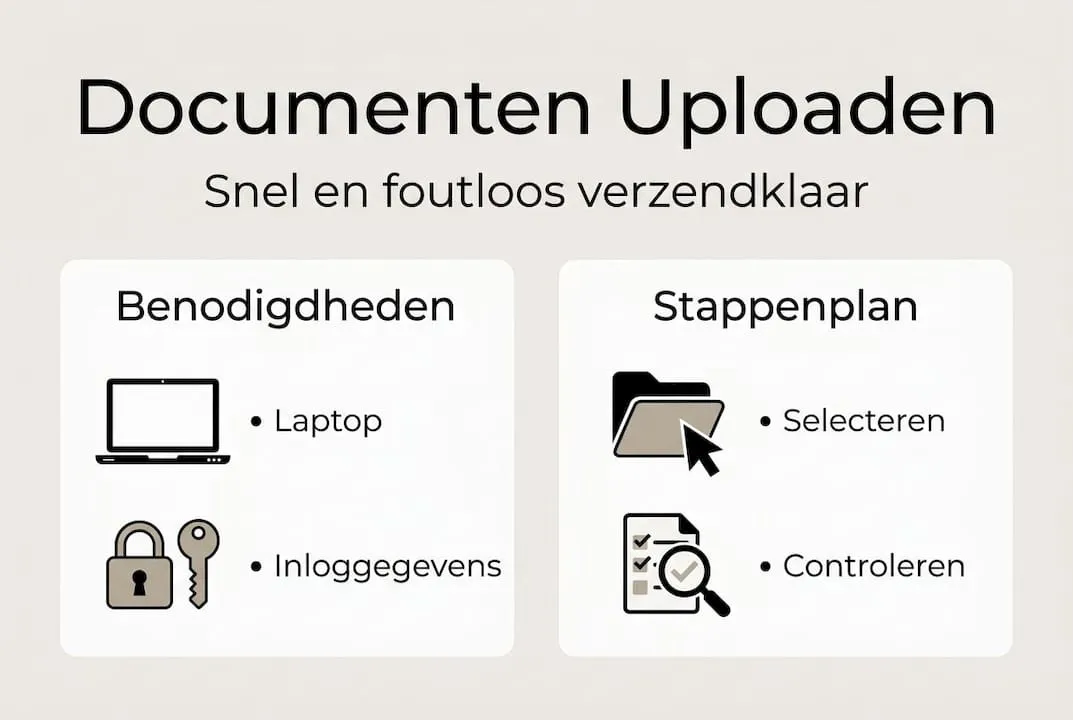
- Log in to the correct platform. Go to your freight forwarder’s portal or logistics service provider. Verify that you have the correct login credentials and that your account is linked to your company details.
- Create a new shipment. Fill in the basic details: sender, recipient, destination country, weight, and dimensions. This helps determine which documents the system will request.
- Select and upload the required documents. Upload files in the requested format, usually PDF. Ensure files are legible and not too large (a maximum of 5 MB is common). Name your files clearly, for example, “invoice-2026-order123.pdf”.
- Check the requirements of the destination country. Some platforms automatically indicate which documents are missing. Always perform a manual check for country-specific requirements.
- Submit and save the upload confirmation. After uploading, you’ll receive a confirmation. Always save this proof in your records. It serves as your evidence in case of disputes or inspections.
Digitally requesting export documents via software or freight forwarders speeds up the process and reduces the risk of errors from manual entry.

Method | Advantage | Disadvantage |
|---|---|---|
Via Freight Forwarder | Personalized advice, error checking | Higher costs, less control |
Via Your Own Portal | Fast, direct insight | Requires knowledge of document requirements |
Via Logistics Software | Automated, scalable | Initial investment and setup time |
Pro tip: Always use a consistent folder structure on your computer or in the cloud for export documents. Sort by country and date. This saves minutes per shipment and hours per month.
Want to learn how to start-an-international-shipment and what steps follow? Or do you have questions about customs clearance tips you can apply immediately? Both topics are closely related to the upload process.
Common Problems and Smart Solutions
Even experienced shippers encounter issues when uploading documents. Knowing what can go wrong is half the solution.
The most common errors include:
- Incorrect file format: You upload a Word document instead of a PDF. Many systems only accept PDFs.
- Missing signature or stamp: Official documents such as a Certificate of Origin require a signature and sometimes a Chamber of Commerce stamp.
- Incomplete form: Empty fields or missing HS codes (the international product codes for customs) will lead to immediate rejection.
- Incorrect currency on the invoice: The invoice value must match the actual transaction value in the correct currency for the destination country.
- Outdated document: Some documents have limited validity. For example, an EUR.1 certificate is only valid for a limited period; the duration varies per trade agreement.
“Errors in shipping documents often cause delays and additional costs.” This is not an exception but a pattern we see repeatedly with companies that ship without a standardized process.
The smartest solution is to work with a fixed checklist per destination country. This way, you always know exactly which documents you need and in what format. Also, consider logistics software with built-in alerts that notify you if a required field is empty or a document is missing.
When a document is rejected, act quickly. Read the error message carefully, correct the document, and upload it again. Do not wait, as every day of delay can mean your package remains stuck in a customs depot.
For a complete overview of how to fill-out-customs-forms and a handy checklist for international shipments, visit our knowledge base.
Verification: Was your upload successful and what are the next steps?
After uploading, you want to be sure everything went well. A successful upload is not the same as an approved document. The distinction is important here.
These are the steps for a proper final check:
- Check the confirmation email. After uploading, you often receive an immediate digital confirmation via the platform or from the carrier. If there’s no confirmation in your inbox, check your spam or contact support.
- Review the platform dashboard. Most portals show a status overview of your documents: in review, approved, or rejected.
- Save the upload confirmation. This is your proof that you have fulfilled the documentation requirement. Keep it for at least seven years for your records.
- Check the shipment tracking. Once the documents are approved, you can activate the shipment and follow the tracking.
Status | Meaning | Action |
|---|---|---|
In review | Document is being assessed | Wait for confirmation |
Approved | Document meets requirements | Proceed with shipment |
Rejected | Document contains errors | Correct and re-upload |
Expired | Document is no longer valid | Request a new document |
Which documents should you keep after shipping? At minimum, the commercial invoice, upload confirmation, confirmation email, and if applicable, the Certificate of Origin or EUR.1. These are relevant for subsequent customs inspections or recipient complaints.
For more information on the applicable international-shipping-rules and what an export declaration entails for e-commerce businesses, you’ll find detailed explanations in our knowledge articles.
Our experience: Simplicity and certainty through structured documentation
After years of working with e-commerce businesses and international shipments to over 220 countries, we see one pattern consistently: most errors are not due to ignorance but haste. A company shipping five packages per week requires a different approach than one processing fifty packages per day. However, the basic rule applies to everyone: structure prevents stress.
Companies that use fixed checklists and automated upload tools make demonstrably fewer errors and have shorter processing times. This is no coincidence. Automation handles repetitive checks, allowing you to focus on exceptions.
Our advice: Invest time once in setting up a documentation process, then use practical customs clearance tips to refine the process further. The time investment pays for itself with every error-free shipment.
More convenience and certainty when uploading and shipping documents
Do you want to reduce the chance of errors and further optimize the upload process? At Parcel International, we have been helping e-commerce businesses and individuals with international shipments to over 220 countries and territories since 2007.
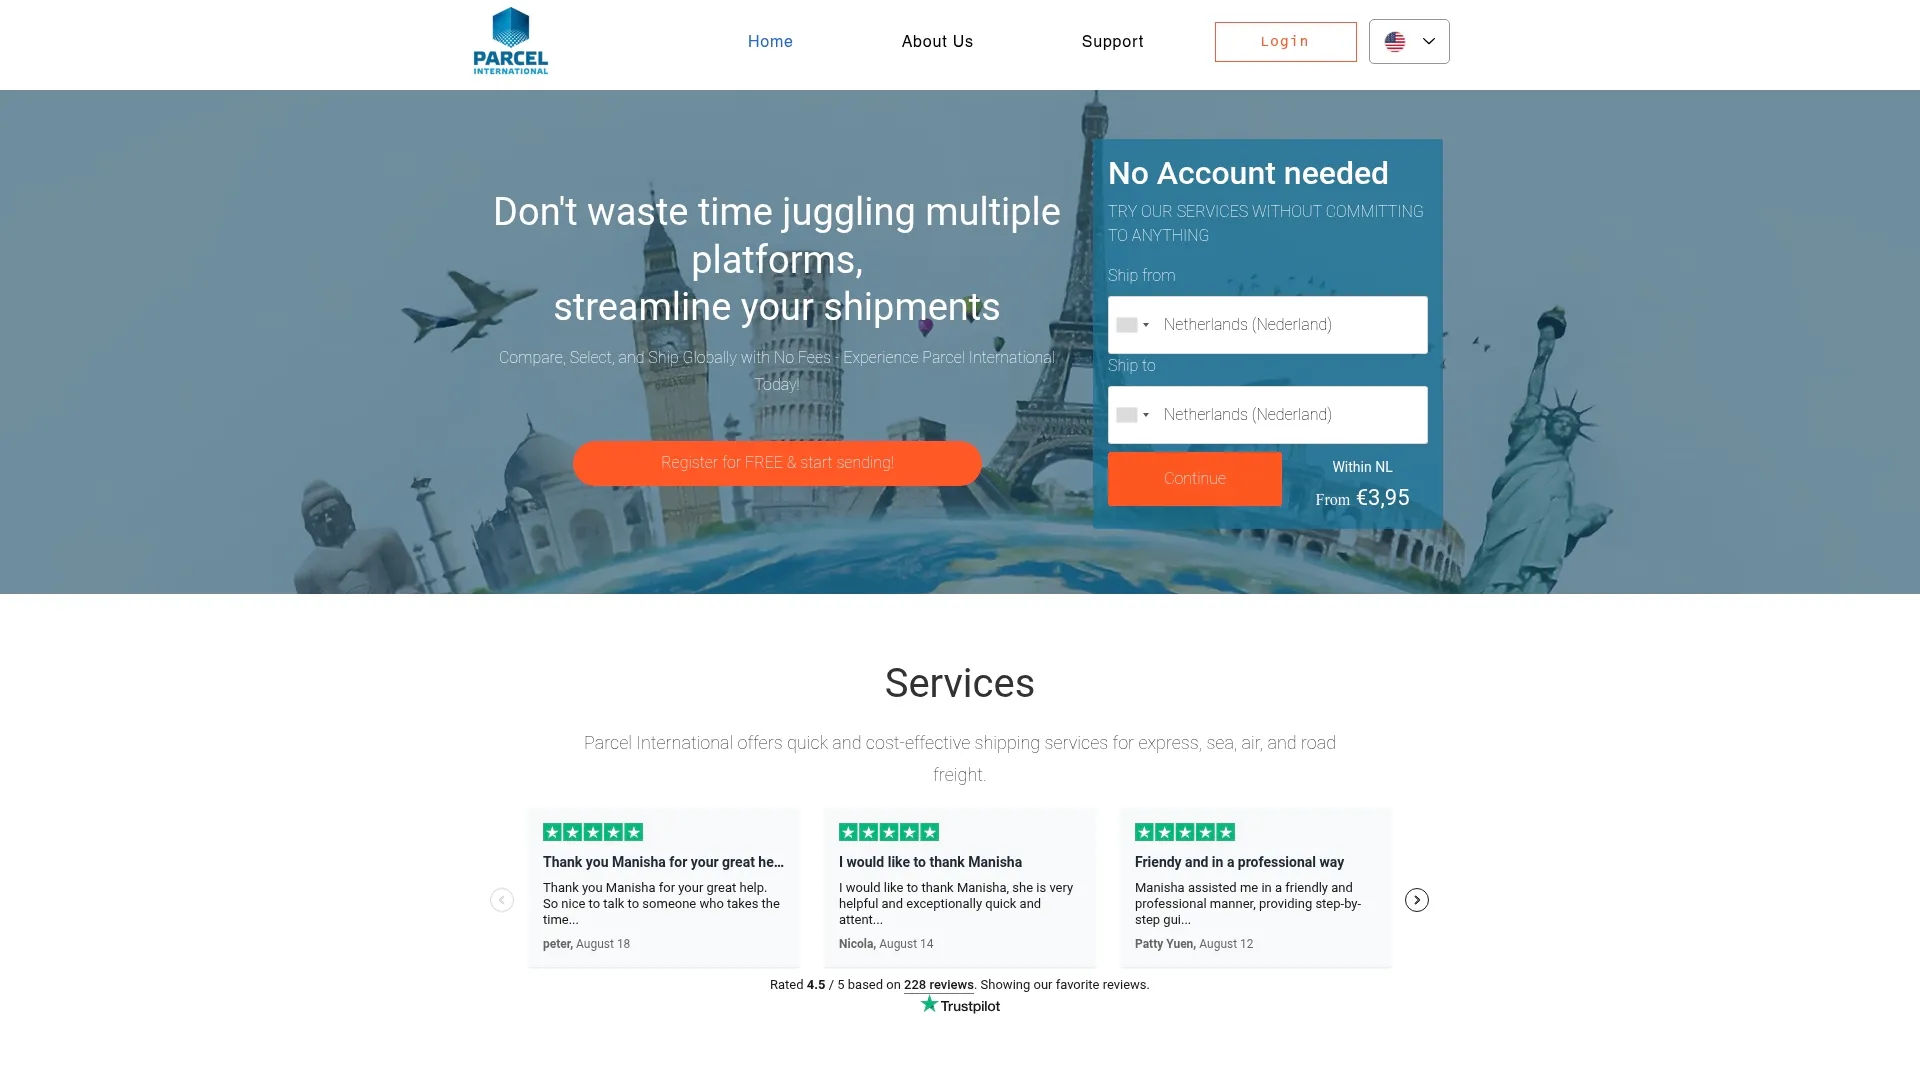
Through our platform, you can easily compare-parcel-services without needing an account. This way, you can immediately see which carrier best suits your shipment and what documentation is required. Want to know the most-common-causes-of-delays and how to avoid them? Or are you ready to get started right away? Start shipping-internationally today via our platform.
Can't find your question? Our support team is here for you 24/7 via the help centre.
What are the key documents for international shipments?
For international shipments, accurate customs documentation is essential, such as the CN22 or CN23 form, depending on the value of the shipment. Ensure all required information, including sender and recipient details, product description, and value, is filled out correctly to avoid customs issues.
Where can I upload export documents digitally?
You can upload export documents via the Chamber of Commerce portal or through a freight forwarder or software. The best route depends on the frequency and complexity of your shipments.
What if my document is rejected after uploading?
Carefully read the error message, adjust the document based on the feedback, and re-upload the corrected file for approval.
How do I know if my upload was successful?
You will receive immediate digital confirmation via the platform or by email from the freight forwarder. Also, check the status overview in the platform dashboard.
Get a grip on your parcel shipping
Compare carriers, choose the best price and keep track of your international shipments. You can calculate and book without an account.