TL;DR:
- A successful shipment starts with accurately collecting all required address and package details. Using online tools and suitable printers prevents errors, delays, and additional costs in international shipping. Automation and post-creation checks ensure reliable labels and satisfied customers, especially at higher volumes.
An error on your shipping label costs more than you think. A misspelled address, missing customs information, or an unreadable barcode means the package is returned, the customer calls angrily, and you pay for shipping again. If you regularly send international parcels, you need to know how to create shipping labels correctly the first time. This guide walks you through what you need, how to avoid common mistakes, and how to scale the process, whether you ship one package a week or a hundred.
Key Points
Point | Details |
|---|---|
Preparation is Everything | Verify addresses and weigh packages accurately before creating a label to avoid extra costs. |
Choose the Right Printer | A label printer saves time and ink at higher volumes and produces sharper barcodes. |
Use Online Tools | Shipping services offer free platforms to quickly and accurately create package labels yourself. |
Protect Your Label | Cover the label with transparent tape or a protective sleeve, but never over the barcode. |
Automate as You Scale | Integrate your webshop with label software to generate bulk shipping labels without manual data entry. |
How to Create Shipping Labels: Preparation
Before you fill in a single detail on a shipping label, you need the correct information at hand. A shipping label includes the sender’s address, the recipient’s address, a tracking number, and a scannable barcode. Missing any of these elements or having errors will cause issues.
Here’s what you need to gather before you start:
- Full Sender Address: street, house number, postal code, city, and country
- Full Recipient Address: including any additional details, floor, or company name
- Package Weight: use an accurate scale, preferably in kilograms
- Dimensions: length, width, and height in centimeters
- Shipment Type: document, package, or pallet, and whether it contains hazardous goods
- Customs Information: for international shipments, you need a customs form with a description, value, and country of origin of the contents
Pro Tip: Always weigh your package after packing, including filler material and box. A difference of 200 grams can place you in a higher weight class and result in unexpected surcharges.
Label Formats and Printers
Standard shipping label formats are 4×6 inches (approximately 100×150 mm), but some carriers have their own formats. DHL, for example, uses 100×210 mm. Check the format your carrier requires before printing.
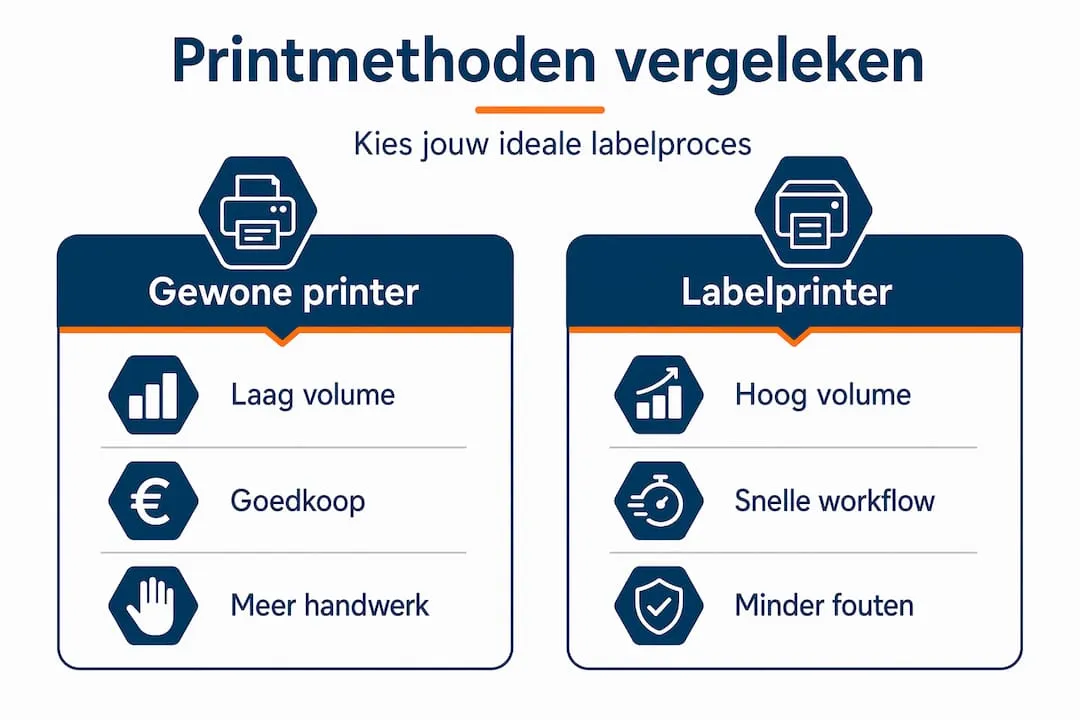
You have two printing options. A standard inkjet or laser printer works fine for occasional shipments. Label printers offer advantages for higher volumes: they use thermal technology without ink, reducing maintenance and ensuring consistent print quality. Brands like Zebra, Dymo, and Brother are popular among small businesses.
Also check the package-volume-calculation-guide if you’re unsure how to correctly specify dimensions. Carriers sometimes charge based on volumetric weight rather than actual weight, and this difference can add up significantly for large but lightweight boxes.
Tool | Suitable For | Price |
|---|---|---|
Inkjet/Laser Printer | One-off shipments, low volumes | Low (already available) |
Thermal Label Printer | Daily use, high volume | Medium to High |
Mobile Label (QR) | One-time use, no printer available | Free |
Step-by-Step: Creating Labels Online
Online platforms for shipping labels speed up the process and significantly reduce the chance of errors. Most major carriers offer free tools with fixed templates. Here’s how to do it.
- Create an account with your chosen carrier. PostNL, DHL, UPS, and FedEx all have their own portals. For international shipping via multiple carriers, you can also use platforms that combine several providers.
- Enter the sender’s details. Most platforms save this information so you don’t have to repeat it. Still, always double-check that the details are correct, especially if you ship from multiple locations.
- Enter the recipient’s address. Avoid abbreviations that the carrier doesn’t recognize. Write street names in full and verify the postal code using an address validation tool. Many platforms do this automatically.
- Enter the weight and dimensions. Always use the actual measurements of the packaged parcel, not the contents. Minor discrepancies are corrected when scanned at the sorting center and may result in additional charges.
- Choose your shipping option. Here, you select the speed (express, standard, economy), insurance, and any additional services like signature on delivery. For international shipments, you also choose whether to cover customs costs yourself or pass them on to the recipient (DDP or DAP).
- Generate the label. The system creates a PDF with a barcode and tracking number. Download the file immediately and save it with a recognizable filename, such as the recipient’s name and the date.
- Print the label. Use the correct settings: set the scale to 100% (no “fit to page”), otherwise the label may be too small or too large for the scanner.
Pro Tip: Many carriers also offer a QR code as an alternative. You can have the QR code scanned at the drop-off point, and they will print the label on the spot. Useful if you don’t have a printer, but check in advance whether your local drop-off point supports this.
Want to further optimize international shipments? The guide on optimizing international shipping at Parcel International provides additional practical insights.
Avoiding Mistakes with Shipping Labels
The most common mistakes are surprisingly simple. They cost you time, money, and customer satisfaction.
Errors in weight and address cause returns and surcharges. A cross-border return can sometimes cost you more than the original shipping costs. Here are the pitfalls you want to avoid:
- Address errors: always double-check the postal code, house number, and city name. Use official postal code websites of the destination country.
- Missing customs documents: for international shipments outside the EU, you always need a commercial invoice or CN22/CN23 form. If this is missing, customs will hold the parcel.
- Incorrect weight: an understated weight leads to additional charges or refusal of the parcel.
- Unreadable barcode: faded or poorly printed labels delay delivery or cause incorrect sorting.
- Label on a seam or edge: attach the label to the largest, flattest surface of the parcel.
A parcel without a readable label is an anonymous object for a sorting center. It ends up in a separate stream for damaged or unreadable shipments, causing days of delay and sometimes irreversible issues for international shipments.
Always protect your label from moisture and friction. Secure it with tape around the edges, but never tape over the barcode or address section. Transparent sleeves designed for shipping labels are a low-cost investment that prevents problems.
For international shipments, it’s also smart to check the tips to avoid delays from Parcel International. Especially if you regularly ship to countries outside Europe, there are specific customs requirements that vary by country.
Comparison: methods for printing labels
Not everyone works the same way. A freelancer shipping a parcel once a month has different needs than a small webshop sending fifty shipments a day. Here’s an overview of your options.

Method | Advantages | Disadvantages |
|---|---|---|
Standard printer (inkjet/laser) | Affordable, already available | Ink fades, formatting can be tricky |
Thermal label printer | Crisp print, fast, no ink required | Higher upfront cost |
QR code (pickup point) | No printer needed | Dependent on location, less flexible |
Bulk printing via software | Efficient for high volumes | Requires technical knowledge and clean data |
Bulk printing labels can be done by combining a spreadsheet with label software. You export a list of addresses and parcel details, import it into the software, and automatically generate labels for each row. Make sure to format barcode columns as text to prevent data corruption during import.
Pro tip: Connect your e-commerce platform (WooCommerce, Shopify, Bol.com) to your carrier via an API integration or plugin. Orders are then automatically converted into shipping labels without manual input. This saves enormous amounts of time as you scale.
Want to see what labels look like for international shipments? Check the shipping-label-examples on the Parcel International website for a clear view of the correct format and required information.
Checking labels after creation
Your label is ready. But before you attach it to the parcel, do a quick check. This may sound excessive, but it’s the step that prevents most issues.
- Readability: print a test label and scan the barcode with your smartphone. If the scanner recognizes the number, you’re good to go.
- Accuracy: double-check the recipient’s name, address, postal code, and country one last time.
- Placement on the parcel: attach the label to a flat, clearly visible surface, away from seams, corners, and tape.
- Activate tracking: save the tracking number and share it with the recipient immediately after handing it over to the carrier. Tracking information allows both sender and recipient to monitor the shipment in real time.
- Keep records: save a copy of the label and shipping confirmation. In case of a claim or dispute, this is your proof.
Attaching and protecting labels correctly is a step many people skip in their haste. But a label that comes loose or gets damaged during transit undoes all your preparation. Take an extra thirty seconds for this.
My perspective on shipping labels after years in international logistics
Over the years, I’ve seen many small businesses stumble over something as simple as a label on a box. And every time, the core of the problem is the same: they treat the label as an afterthought rather than the most critical part of a shipment.
What I’ve learned is that accuracy in creating a shipping label isn’t about perfection. It’s about system. Those who use a fixed checklist and always double-check addresses make significantly fewer mistakes than those who rely on intuition.
The second lesson is that automation pays off sooner than most people think. I see businesses that only consider integrating with their webshop when they’re shipping twenty parcels a day. But even at five shipments a day, manual input is a time-waster that introduces accumulated errors. Start earlier.
Finally: international shipments don’t tolerate carelessness. A wrong address in the Netherlands results in a delayed parcel. A incorrectly filled-out customs form for Canada results in a held parcel, return costs, and a customer who never returns. The investment in a good system pays off with every shipment.
— Pascal
How Parcel International can help you further
Creating shipping labels is one step. Choosing the right carrier, correctly filling out customs documents, and navigating shipments through more than 220 countries and territories is another story.
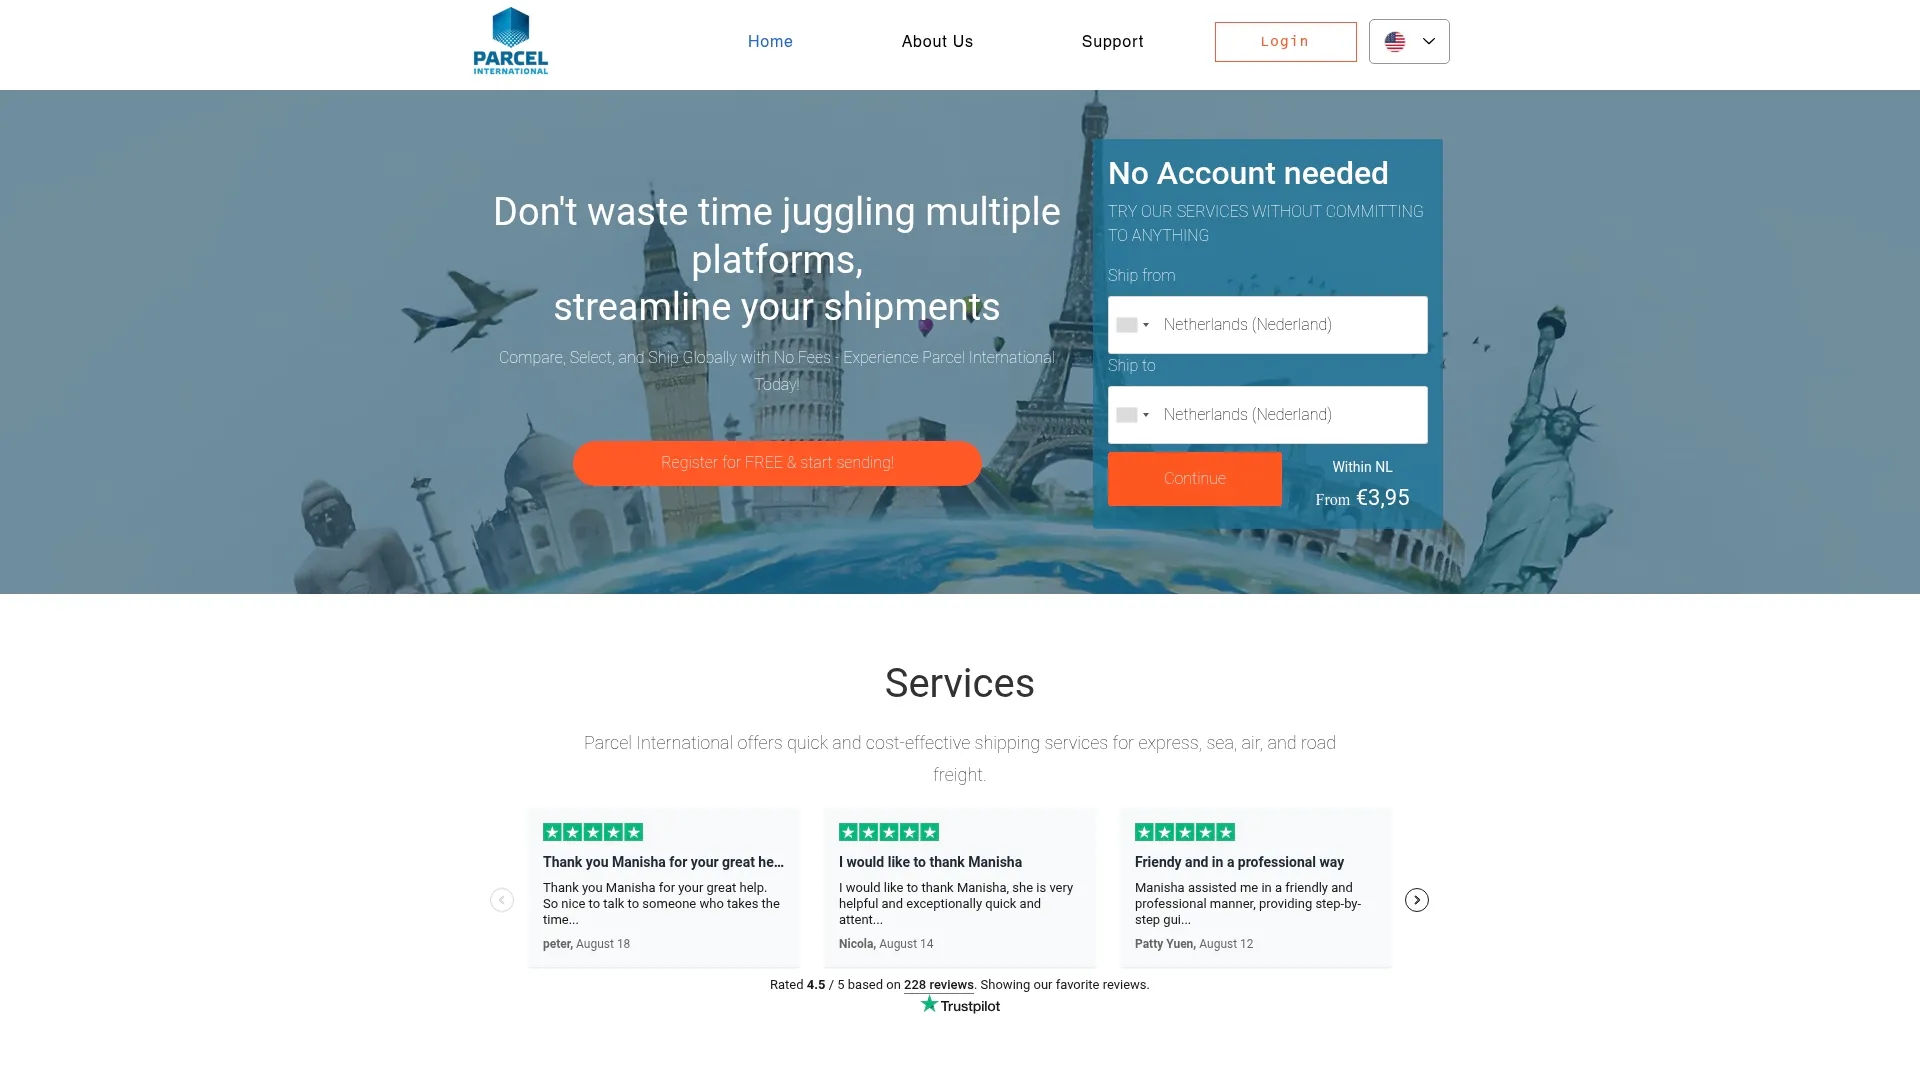
Parcel International has been doing this since 2007 for individuals and small businesses. Through the platform, you can directly compare rates from multiple carriers, choose the best option for your shipment, and receive guidance at every step—without hidden costs. Want to know why shipments sometimes get delayed and how to prevent it? Read the explanation about causes-of-delays and see where the risks lie. Or calculate your shipping costs right away and book without an account.
Can't find your question? Our support team is here for you 24/7 via the help centre.
What are the consequences of an incorrect shipping label?
An incorrect label leads to delays, additional storage costs, or complete return of the package. In the worst case, you lose both the package and the customer.
Which details are mandatory on a shipping label for international shipments?
An international shipping label always requires the correct recipient and sender addresses, a unique tracking number, a scannable barcode, and for cross-border shipments, customs information such as an HS code and item description. The shipping label, as a machine-readable link, enables automated processing in the carrier network.
How can I create a shipping label without a printer?
Many carriers offer a QR code as an alternative to home printing. You can have the code scanned at the pickup point or post office, and they will print the label for you. Check in advance if your pickup location supports this.
What is the standard size of a shipping label?
The most commonly used format is 4×6 inches (100×150 mm), but carriers like DHL sometimes use 100×210 mm. Always check the required format with your carrier before printing.
Can I create multiple shipping labels at once?
Yes. Using label software linked to a spreadsheet, you can generate bulk shipping labels for multiple shipments simultaneously. Ensure addresses are correctly formatted and barcode columns are set as text to avoid errors.
Get a grip on your parcel shipping
Compare carriers, choose the best price and keep track of your international shipments. You can calculate and book without an account.
Recommendation
- How to Manage Shipping Orders for International E-Commerce Stores – Send with Parcel International
- Start International Shipping: Step-by-Step Guide for Successful Deliveries – Send with Parcel International
- How to Reduce Delivery Times for International Shipments – Send with Parcel International
- Sample Shipping Labels for International Deliveries – Send with Parcel International